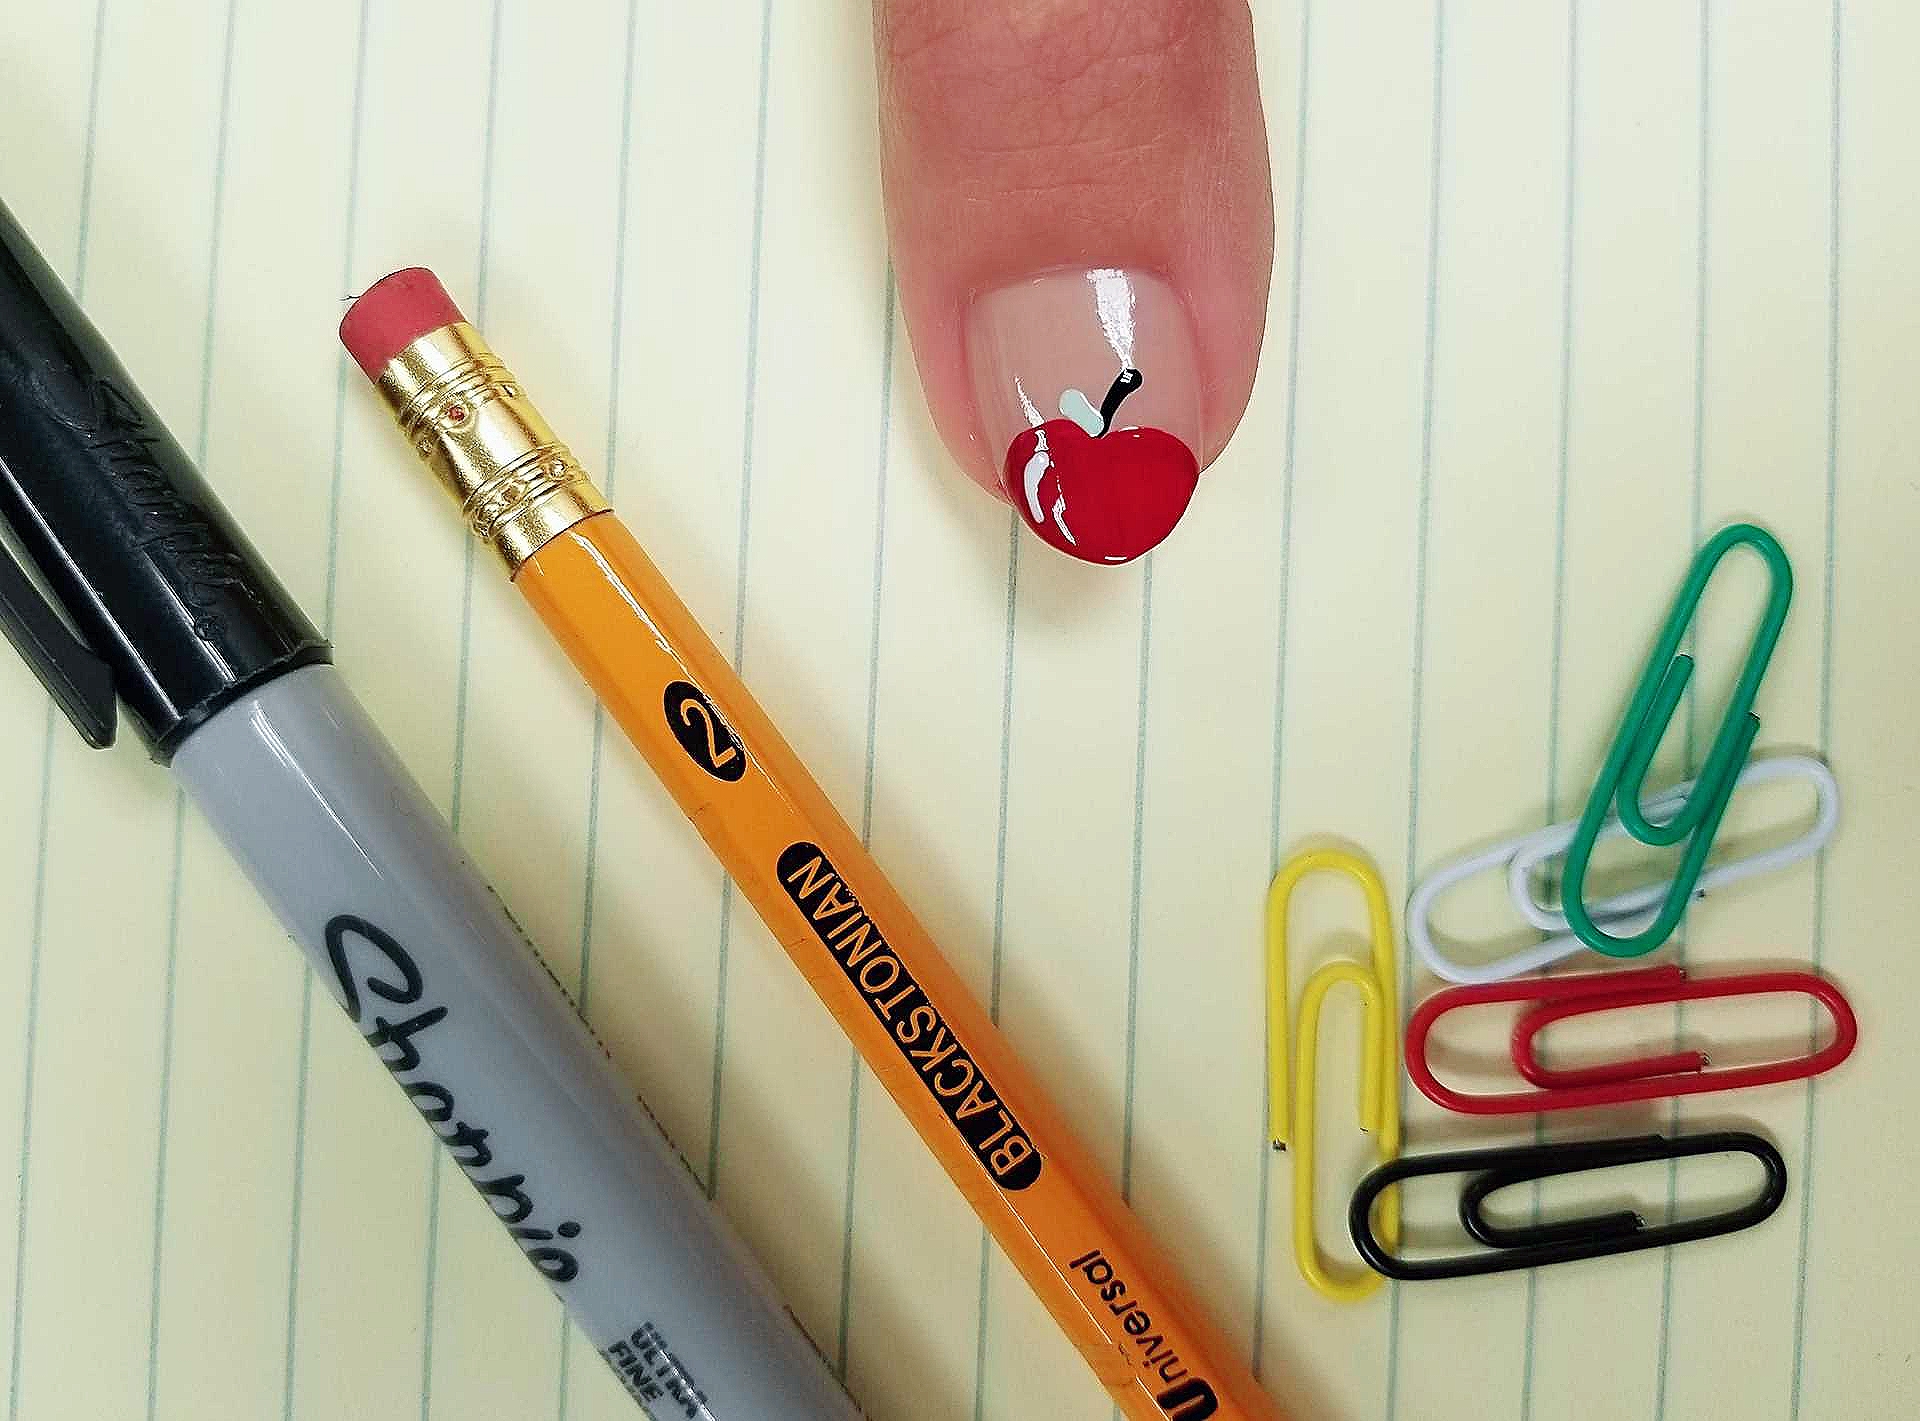


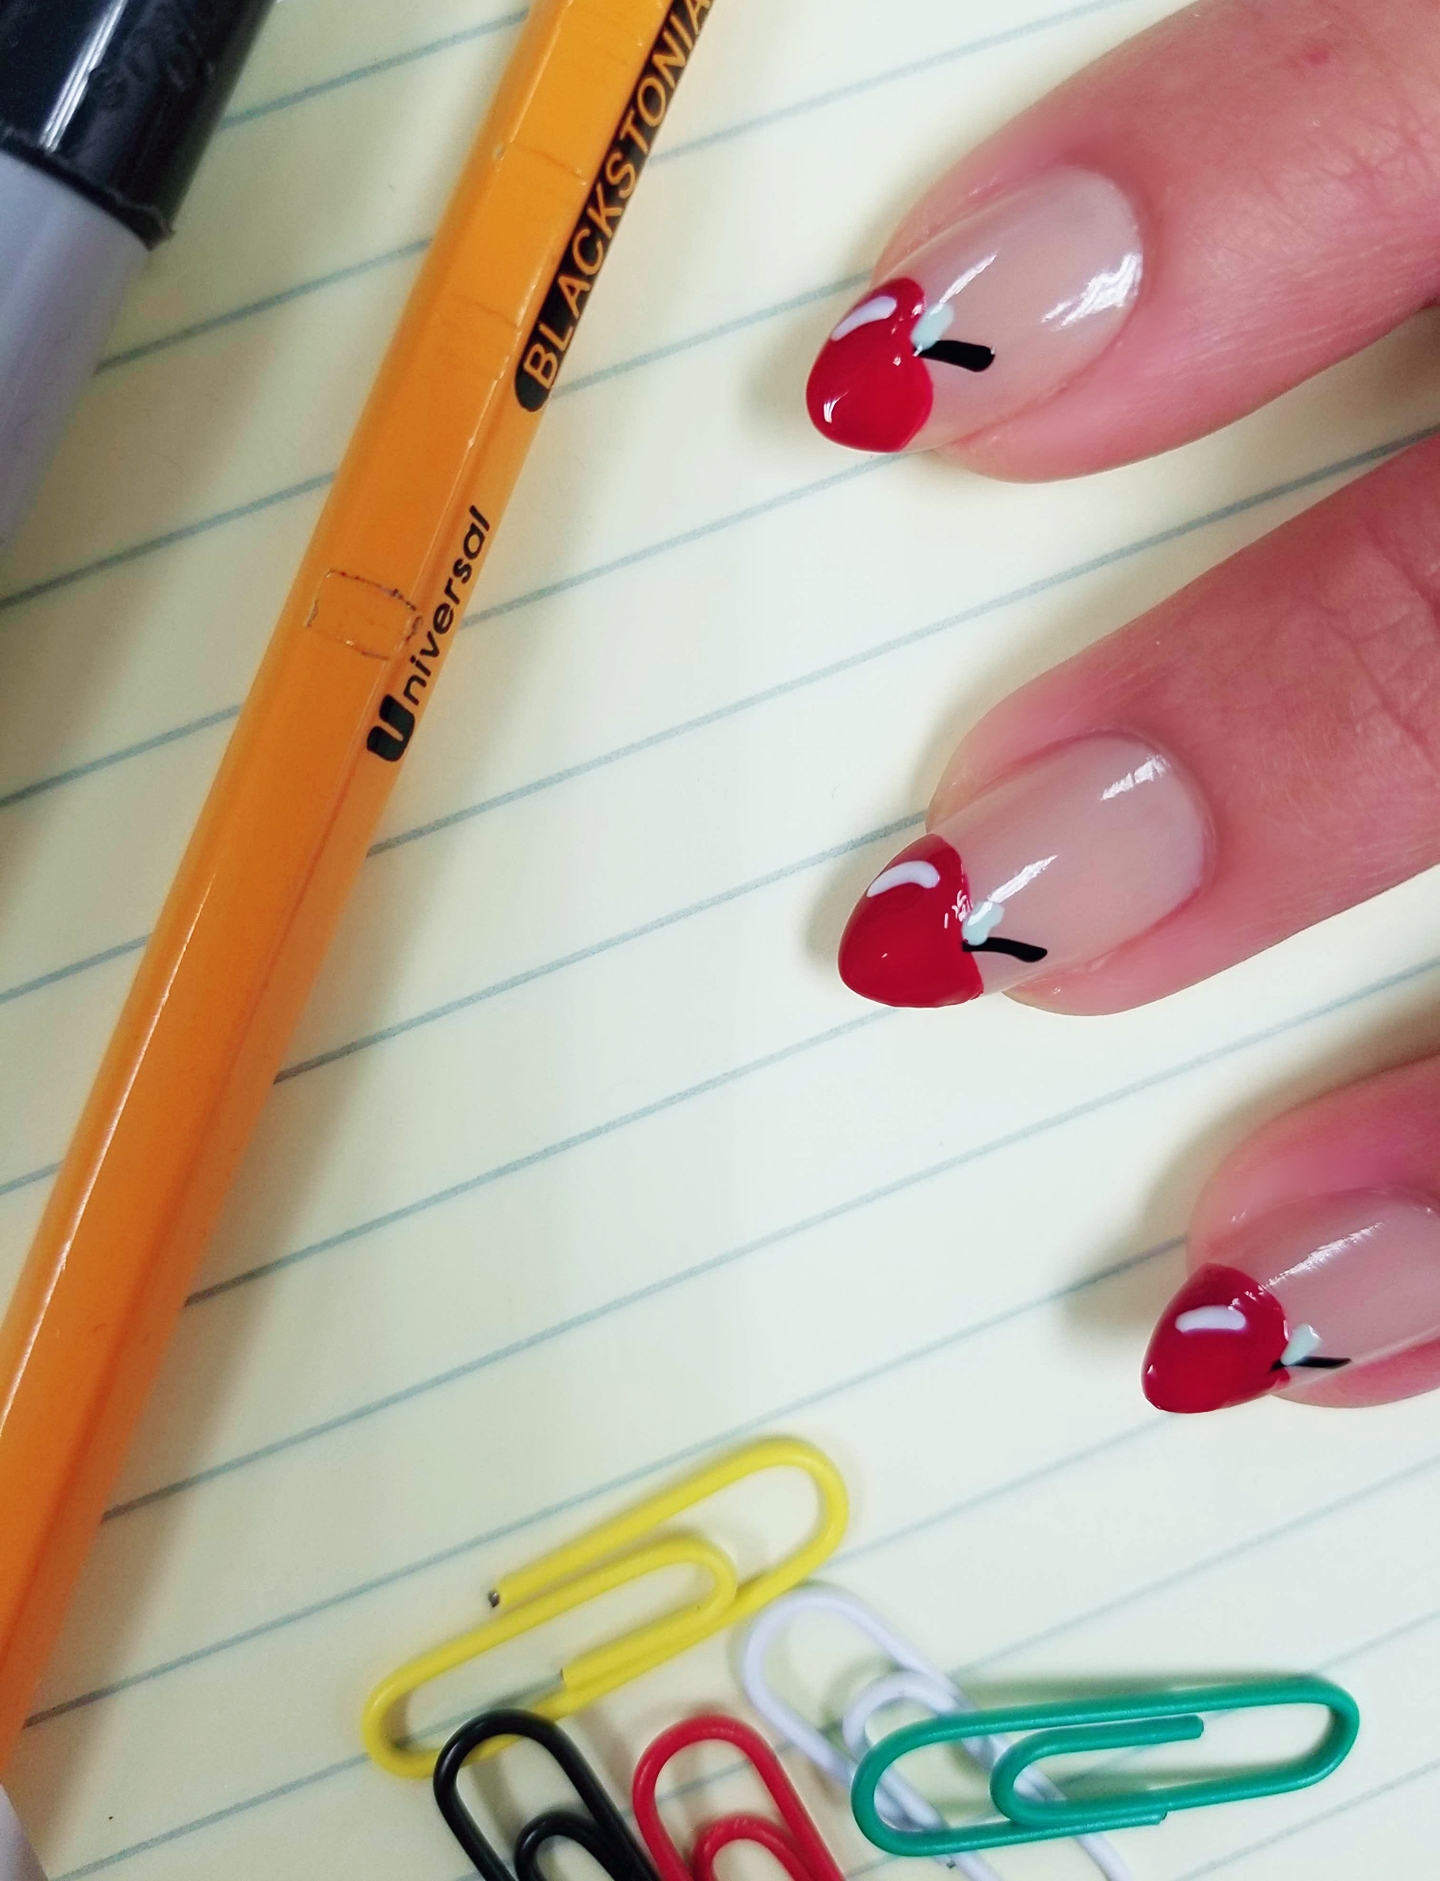
Back to School Mani
What you need:
Base coat
Sheer nude, Red, White, Black and Green lacquer
Thin pointed detail brush
Top coat
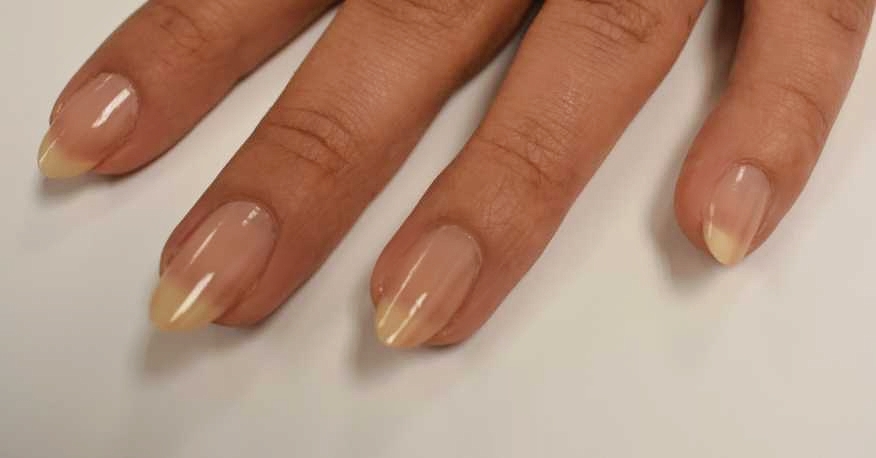
Step 1: Apply 2 thin coats of the nude nail lacquer to all nails. Let dry completely.
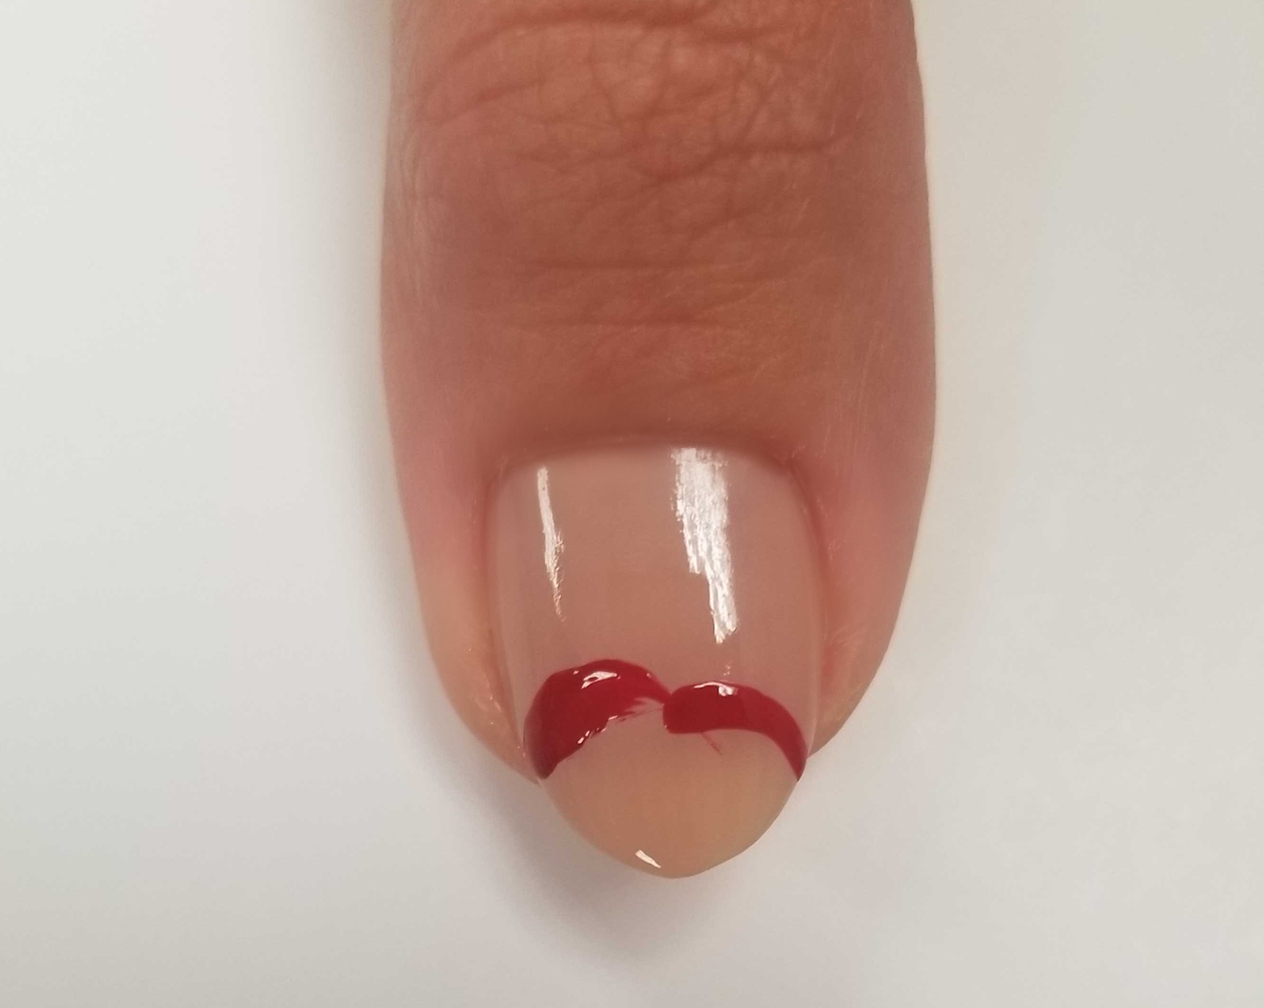
Step 2: Taking your detail brush dipped into the red lacquer, begin to outline two half circles towards the bottom of the nail.
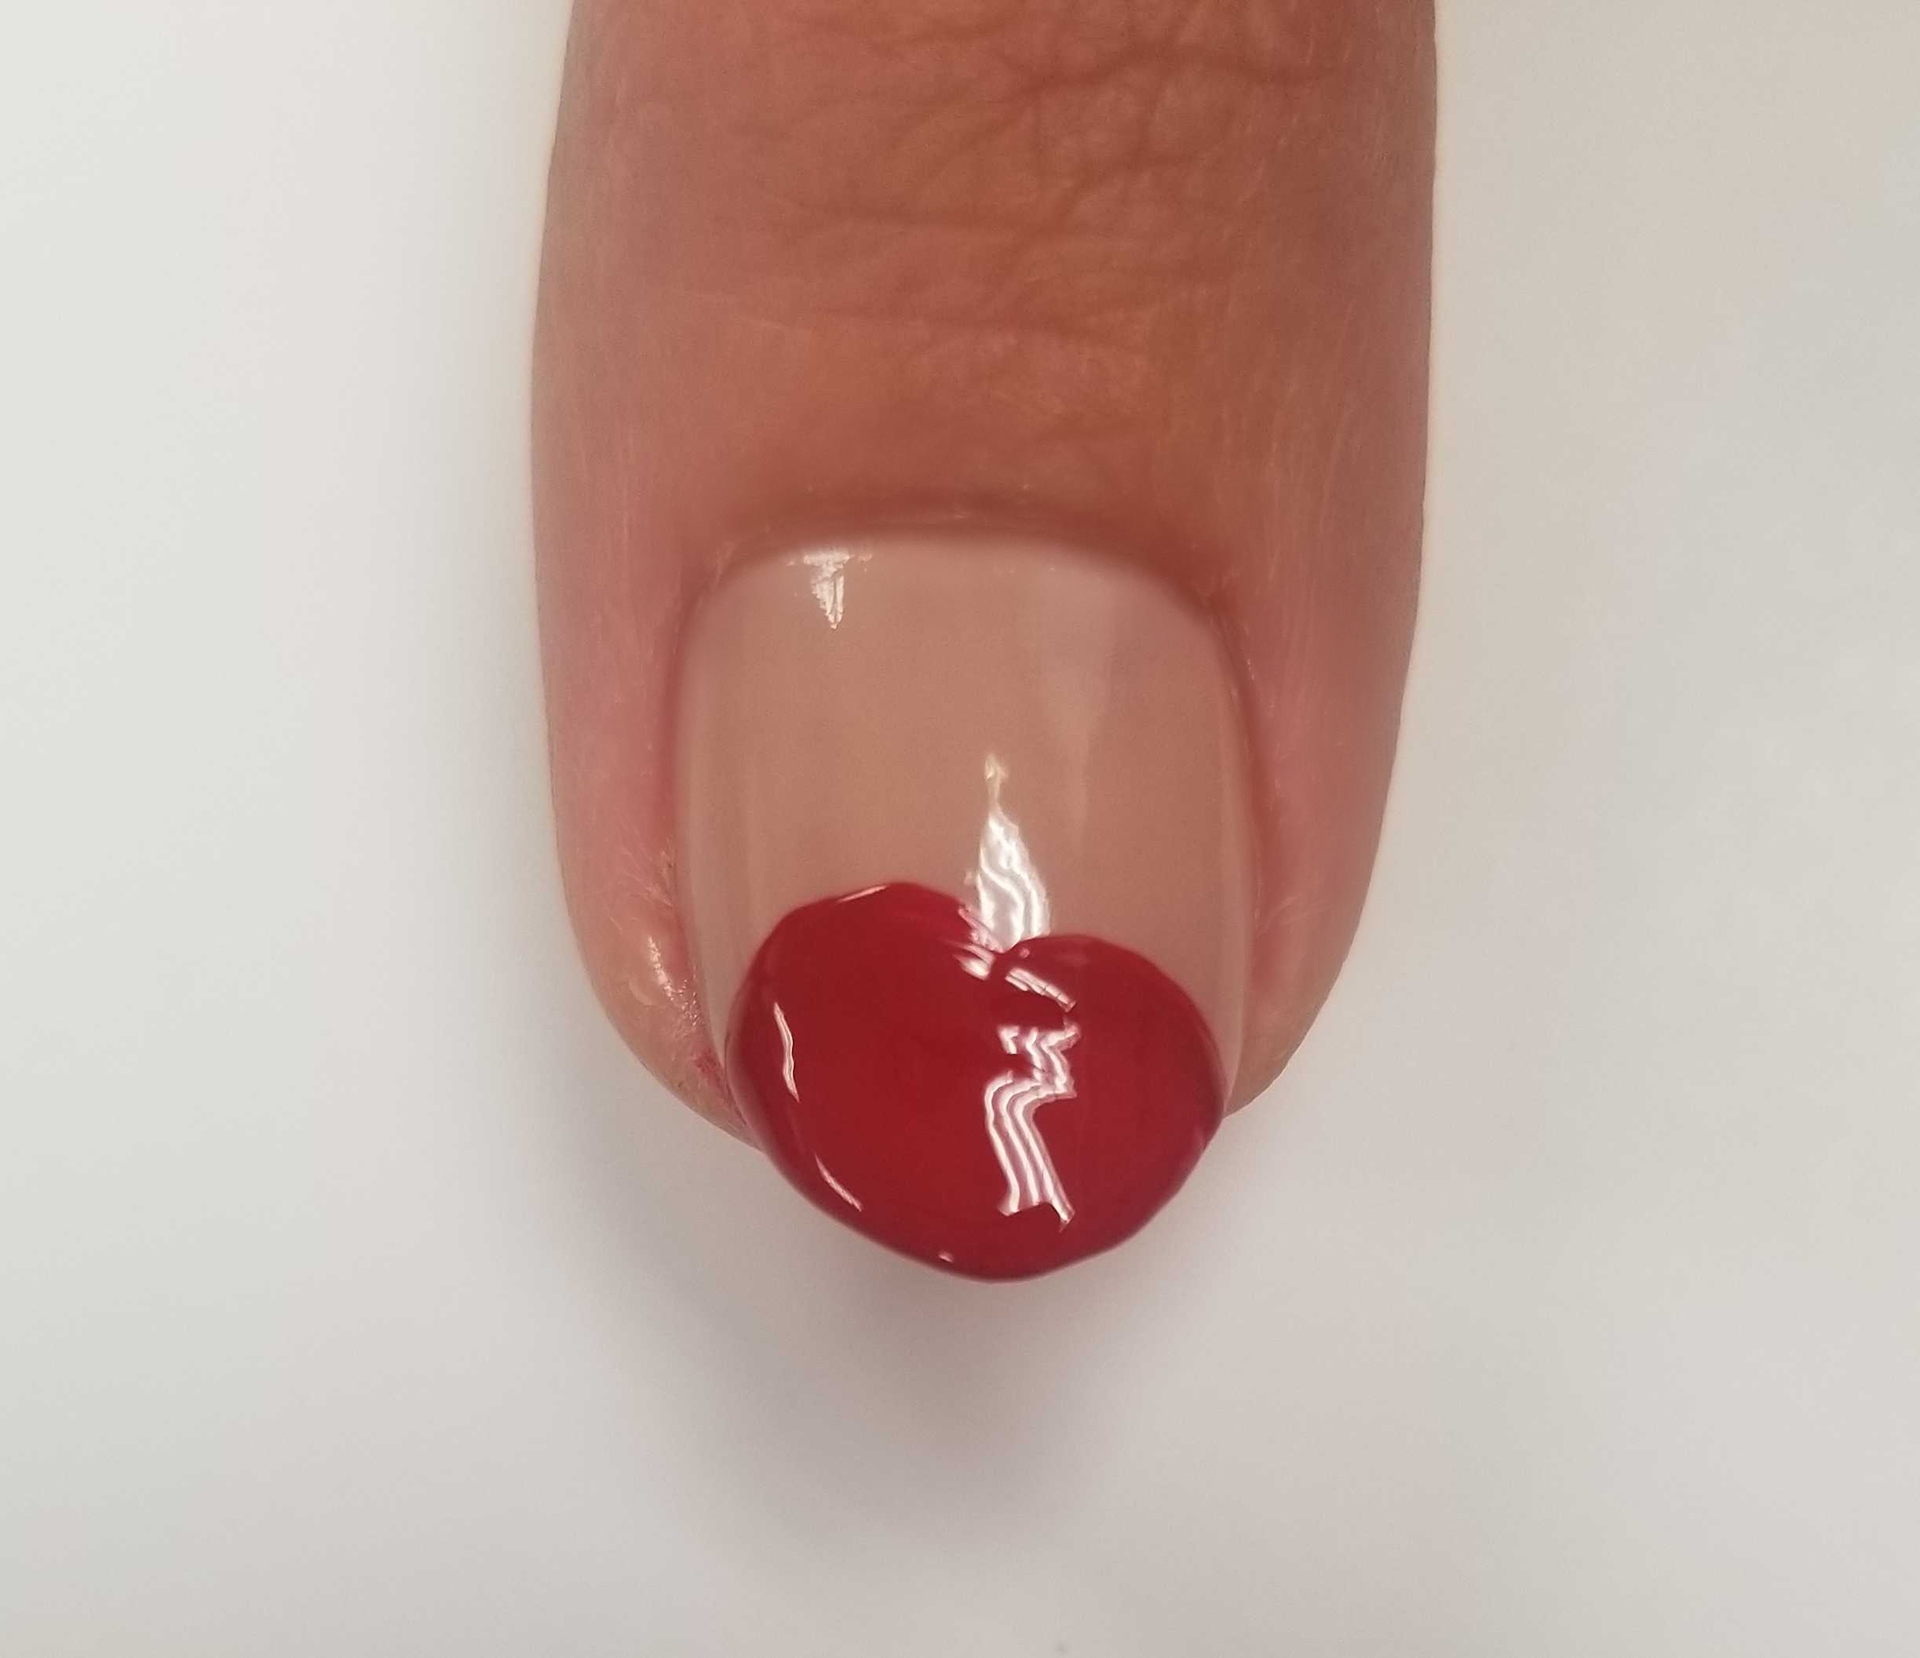
Step 3: Fill in the rest of the nail. You should have something like this.
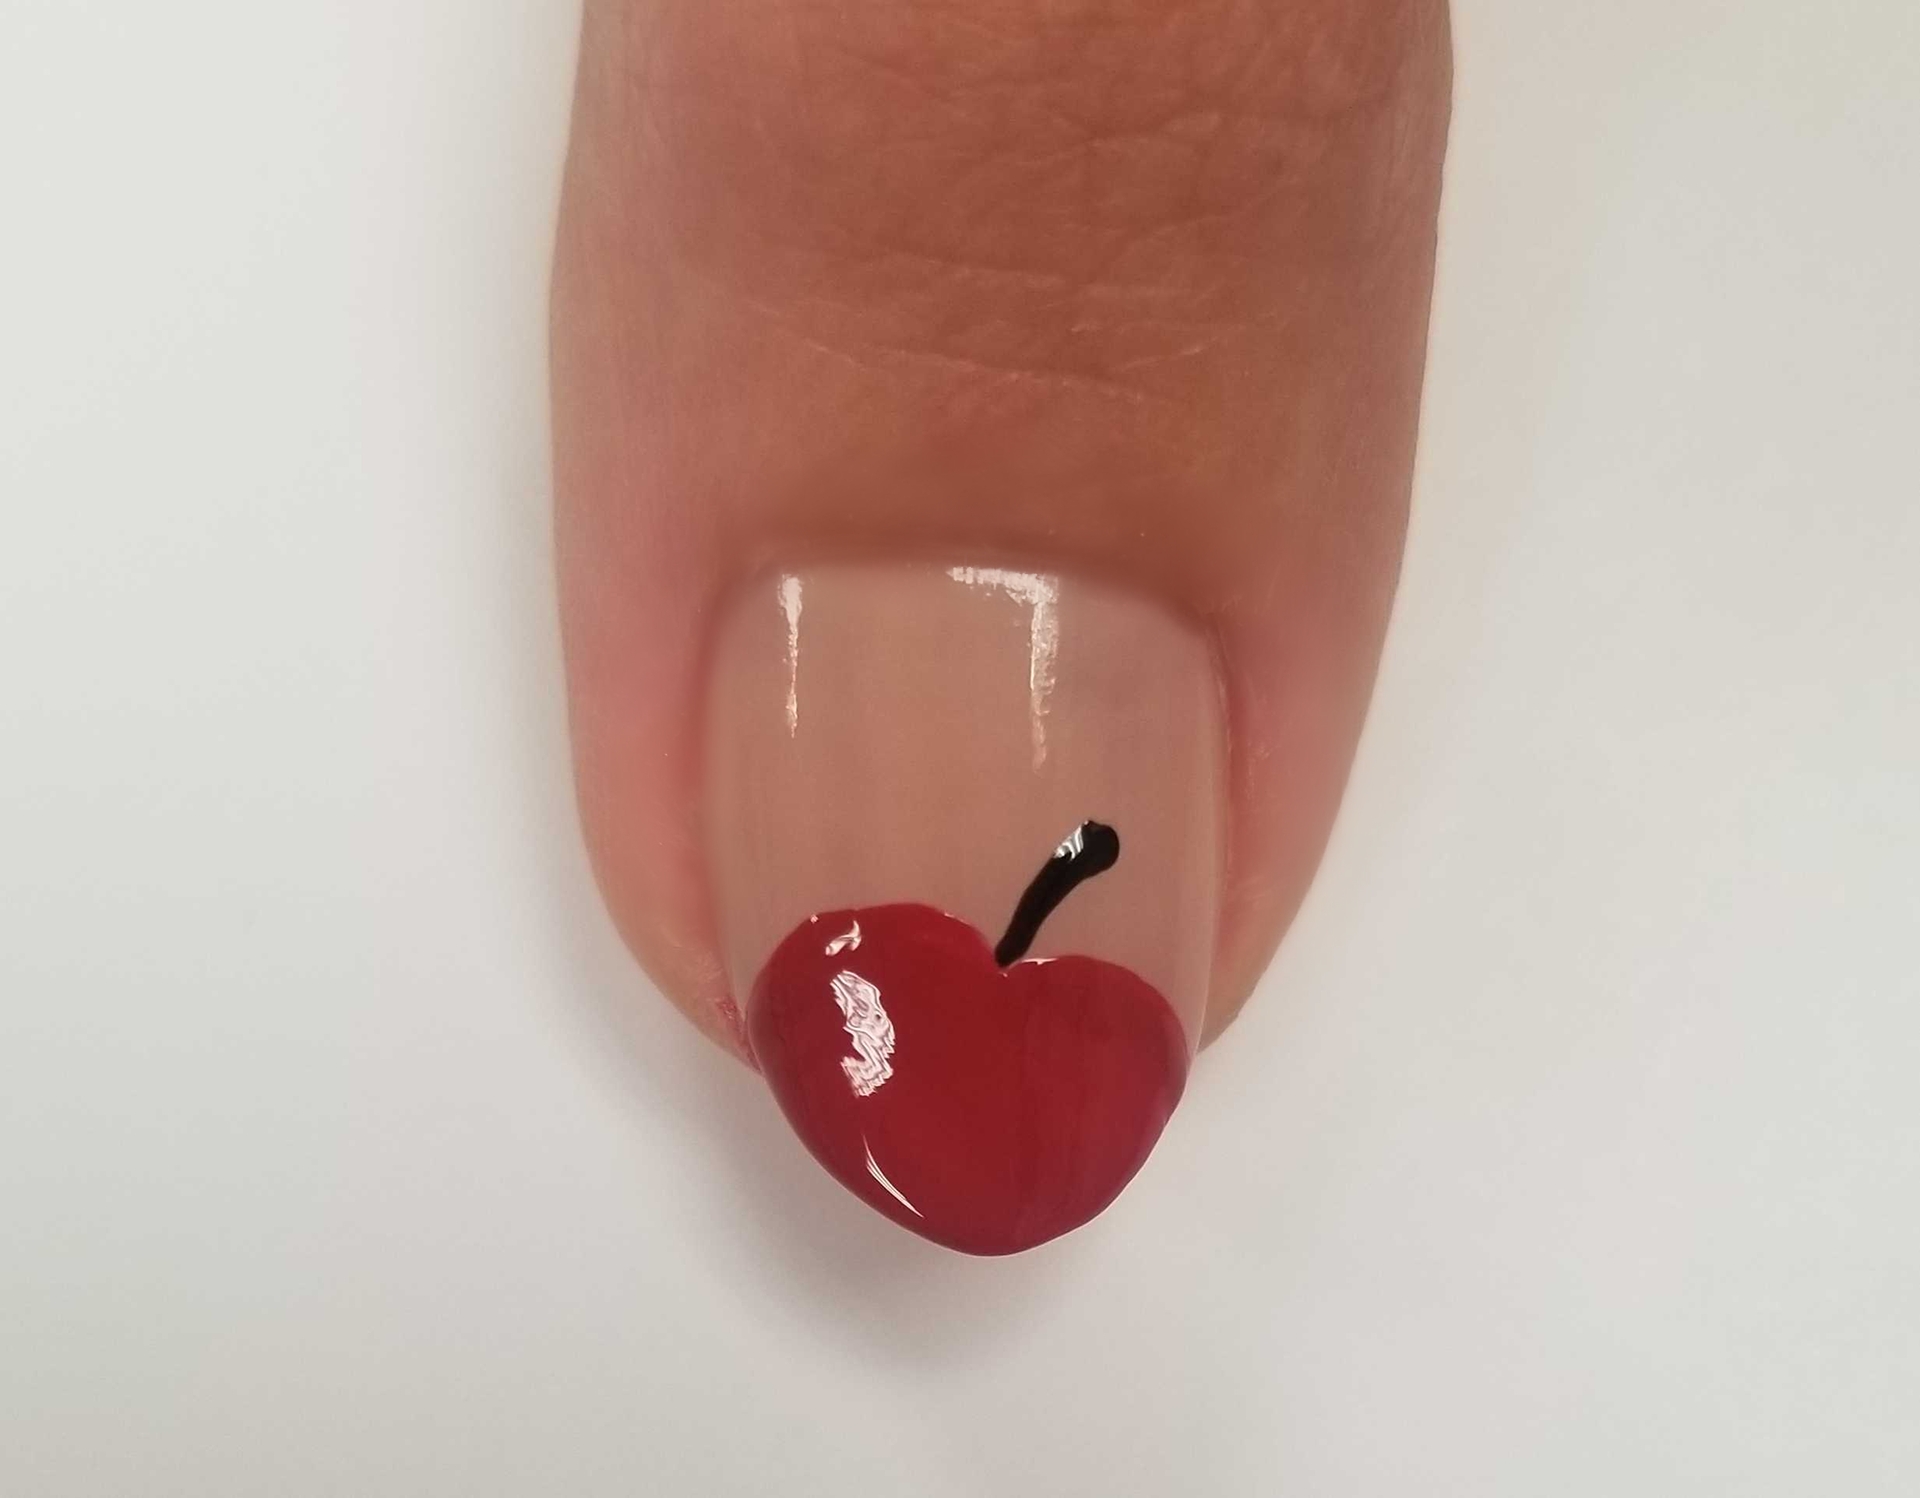
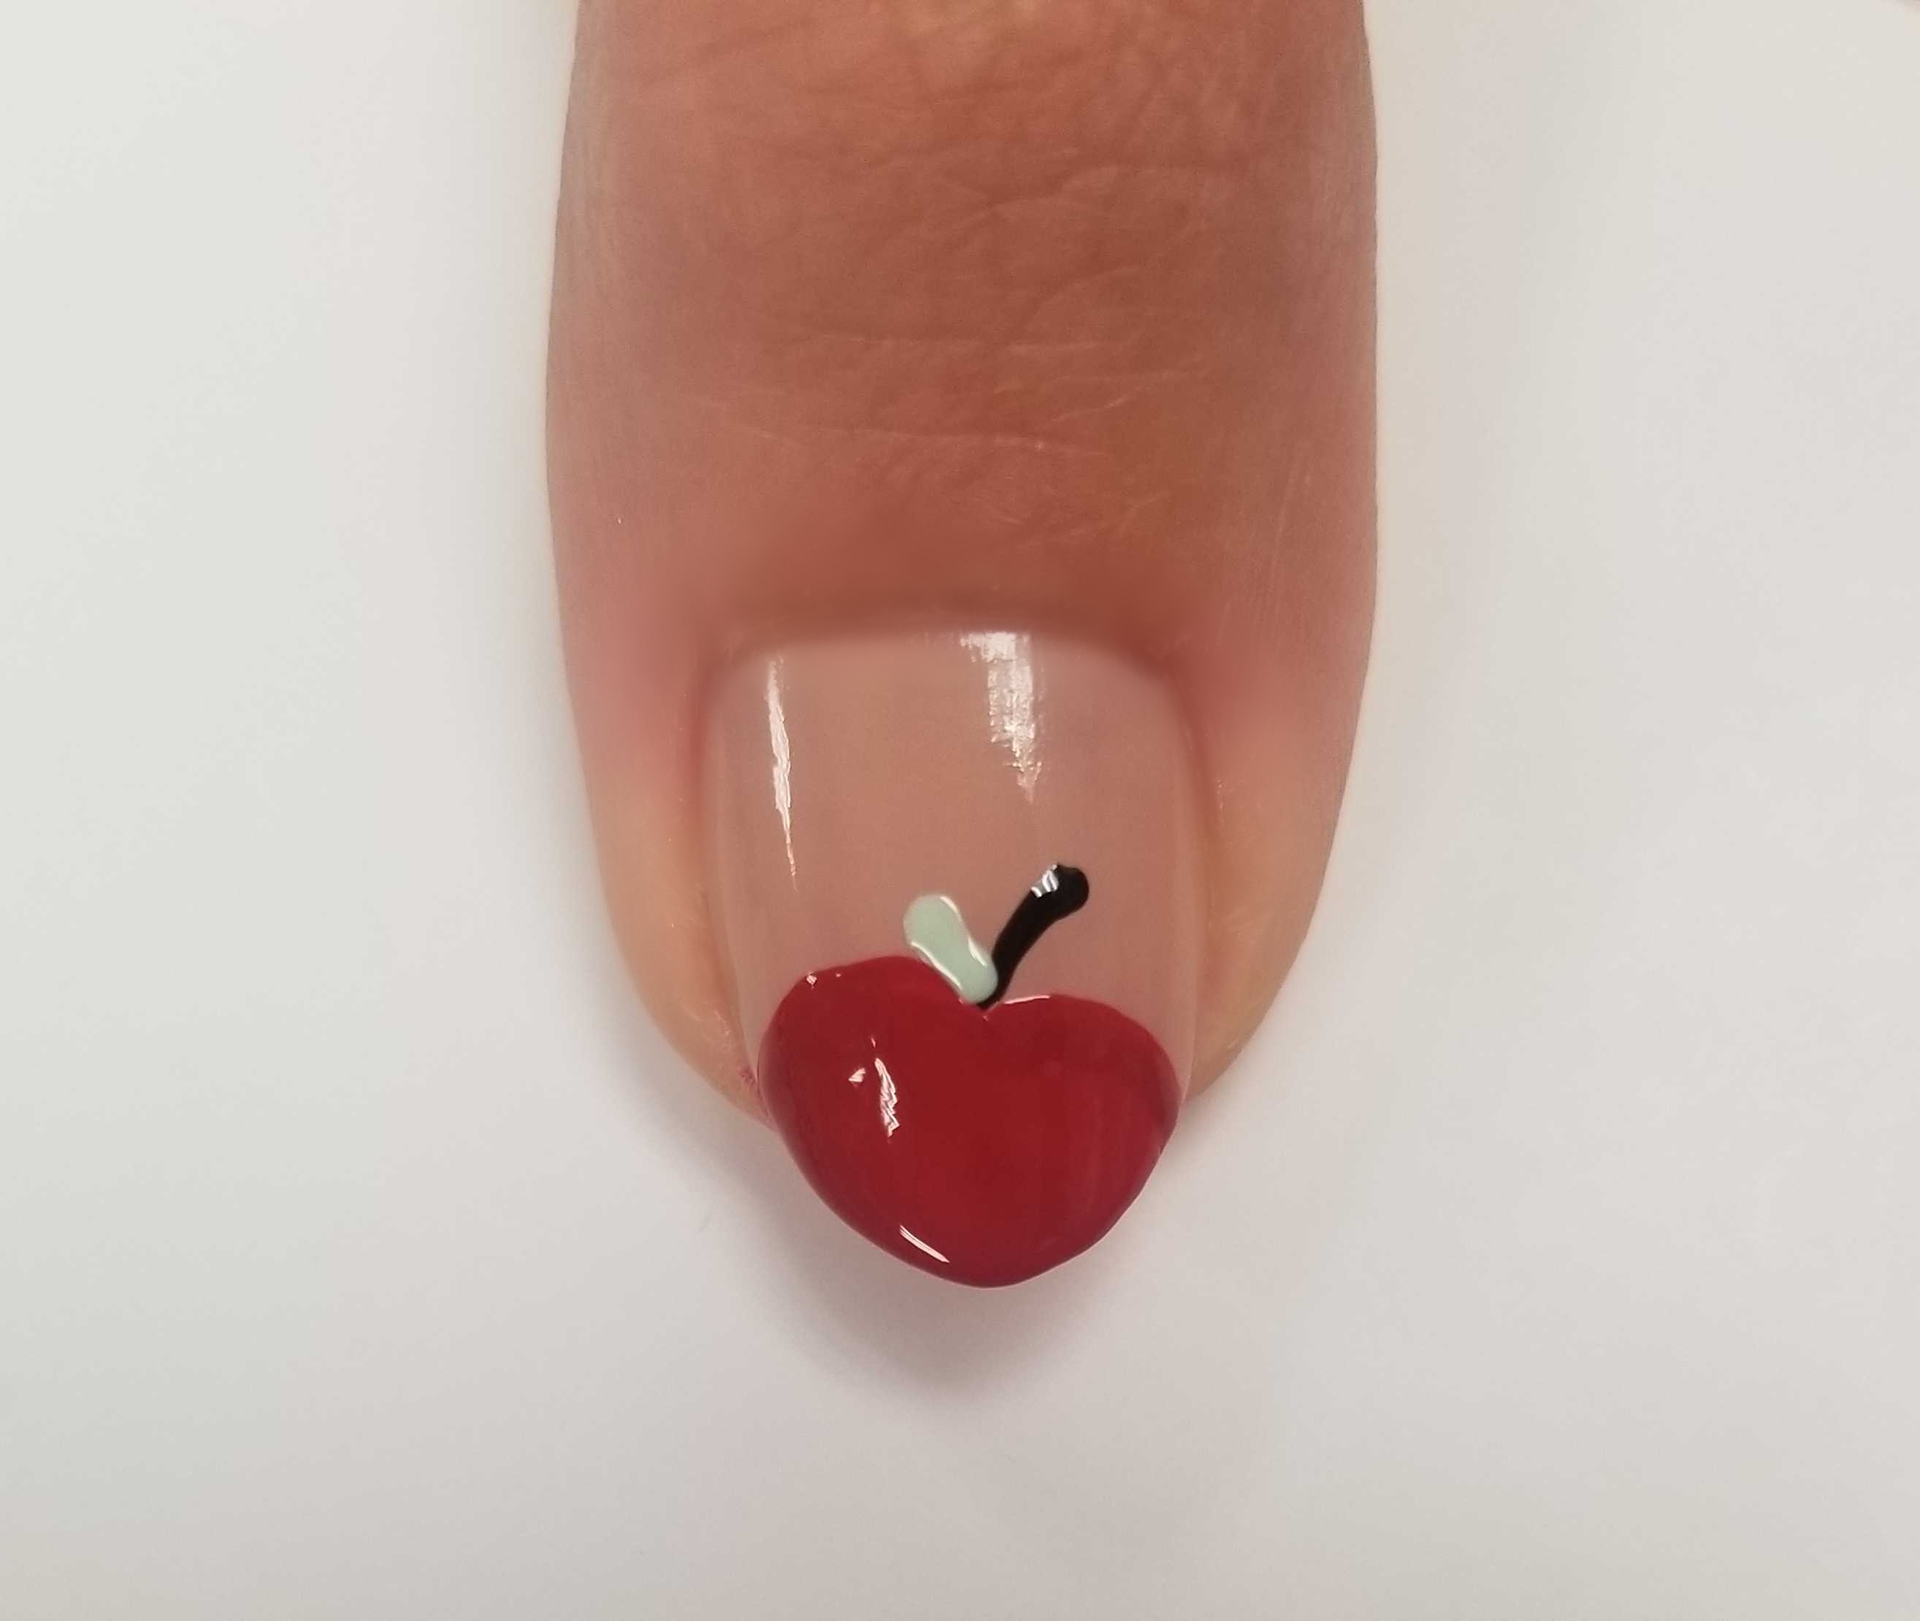
Step 4: While the red is still drying, dip your detail brush into the black lacquer and draw a line in between the two half circles you outlined in step 2.
Step 5: Drawing the leaves! Dip your brush into the green lacquer and create a line next to the stem going in the opposite direction.
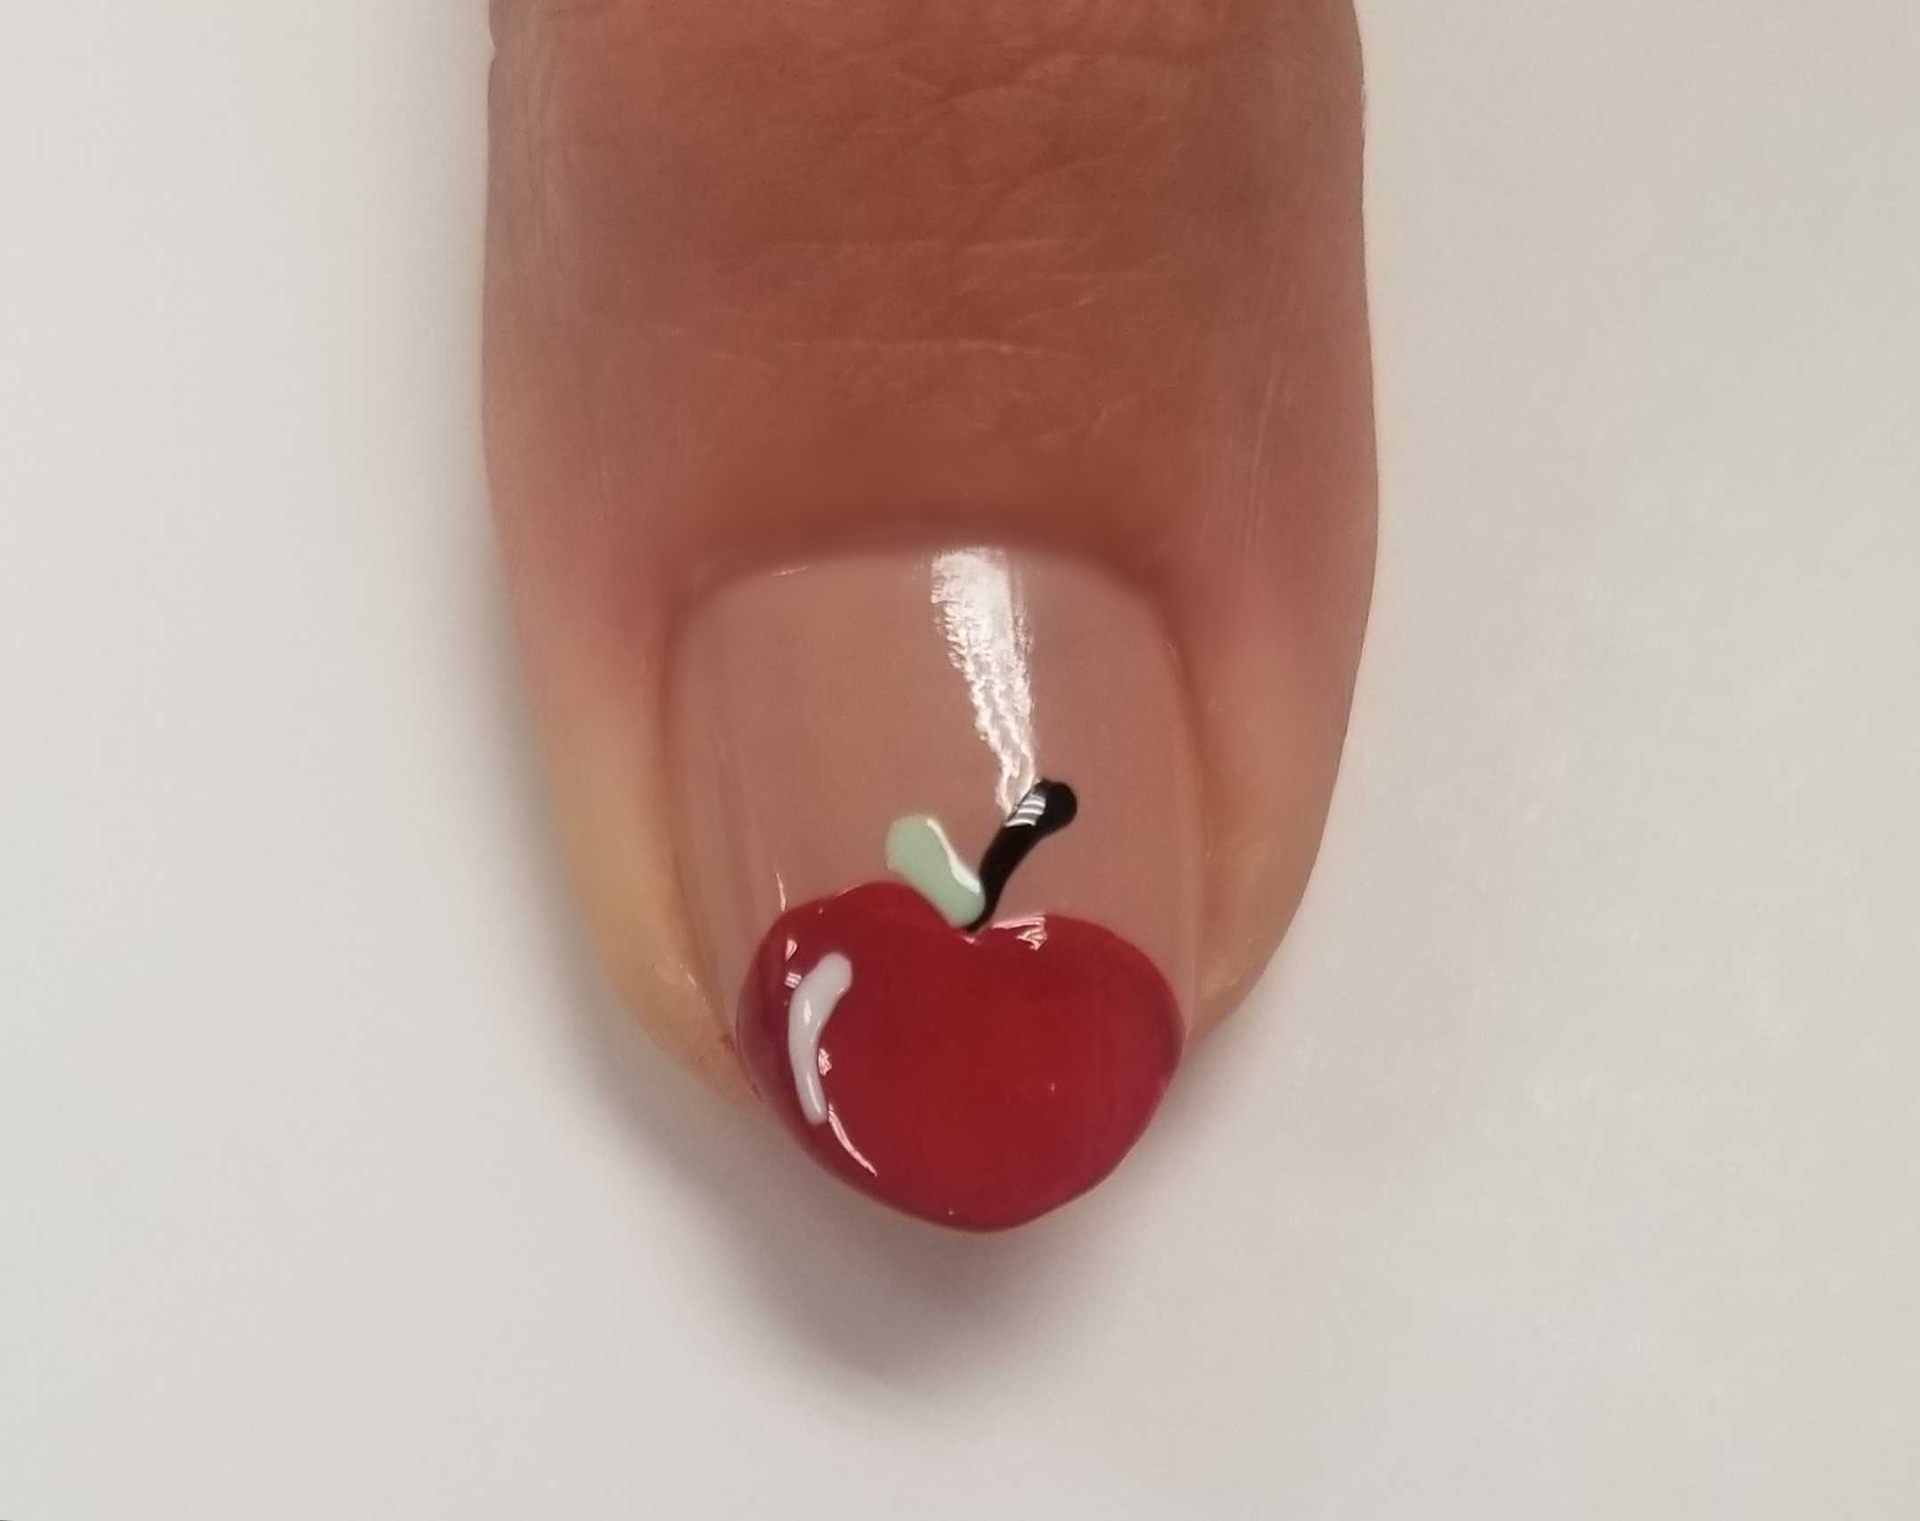
Step 6: Highlight! Make your apple look shiny. Dip your brush into the white nail lacquer and draw a small curved line at the highest point of the apple, where the light would catch it. Let dry completely. You should have something like this.
Step. After ensuring your mani is fully dried, apply a layer of top coat to each nail.